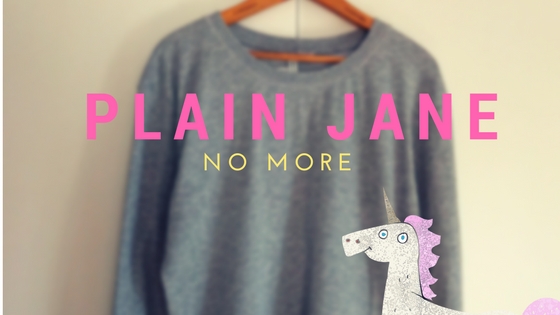
I came across this college sweater the other day when I was out thriftin. Well hello there plain Jane (insert light bulb) lets dazzle you up ❤ And then she went home with me, cheap but clean…..
Before starting on this creative endevour I razzeld up everything I have that possibly could be used to style this sweater.
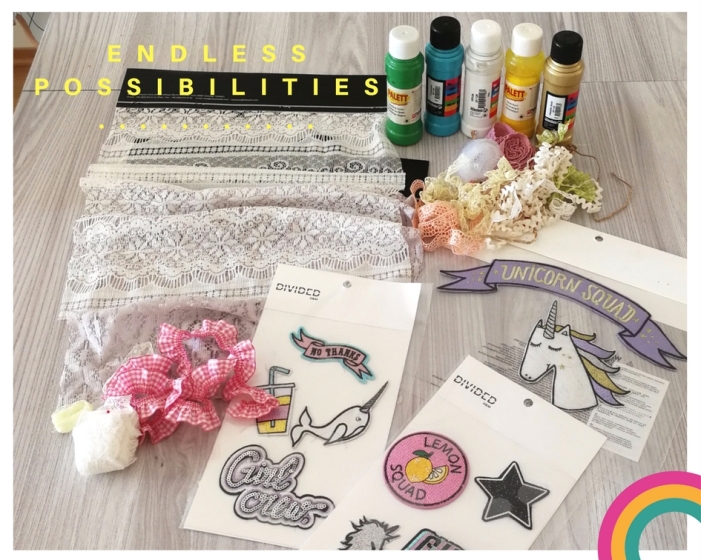
Lace; can be used to create texture, by using color fabric spray. Then you get the reverse effect of the lace as a print, or sewn directly on to the sweater.
Ribbons; use along the sleeves, hemlines to create an effect. Several different types and colors can be cool together. You can also make letters or write something cursive (best sewn on by hand if you are not super skilled on a machine)
Patches; Mine where purchased on H&M. They are super easy to attach. Just Iron on ❤ It can make any piece of clothing more interesting. A tip for buying patches is on eBay. There is an insanely amount of different types. They can also be used to fix holes in your clothes, which contributes to en-long the lifespan of your clothes.
Fabric Paint; And that is what I ended up using this time. I will show you what I did.
Equipment that I used
- Fabric paint,
- A plate to mix,
- 6 sponges 1 for each color (normal sponges cut in 2 works great).
- Cardboard
- Pencil
- Eraser
- Ruler
- Fabric pen in black
- Lace (not necessary)
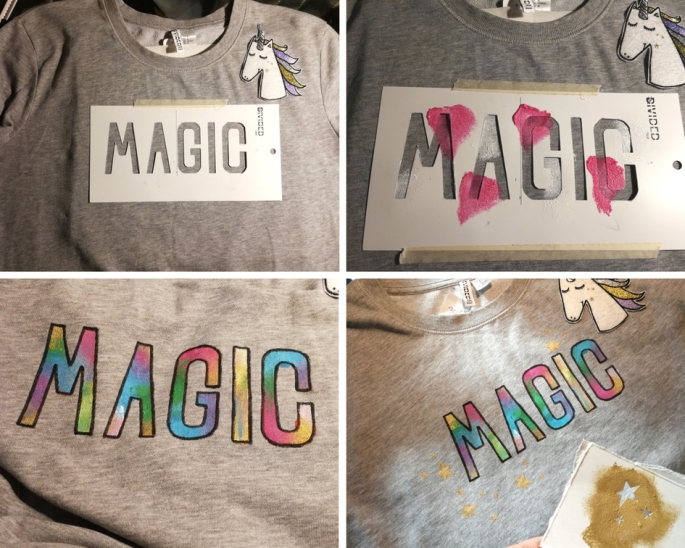
- First I drew the word I wanted in the size that seemed good (height 7,5 cm and 1 cm between each letter). I did this by using a ruler and a pencil. Then a paper-knife to cut out all the letters. (A tip is to save the letters, you can use them for a “negative space” look another time 😉
- Then I picked my colors, magenta, blue, green, yellow, white and gold. I mixed a little white in with the colors so I could get more of a pastel look. Then I used my sponges to divide the color. I tried to blend a little in the transition of each color, but not to much. I still wanted strong colors
- I used a black fabric pen to outline the letters to get a bigger contrast and make them more visible on the sweater.
- Since there was lacking some gold stars. I had to draw and cut out some stars to make the magic come alive.
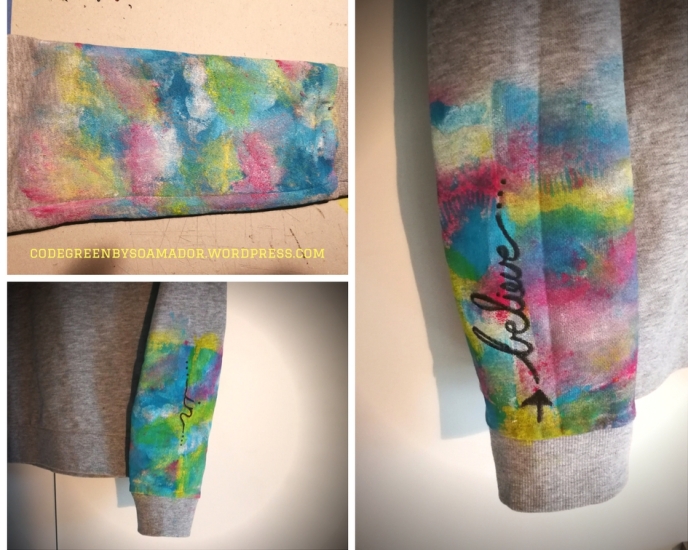
- Playing a hard sleeve game. So this was fun. Its like making a painting on the sweater, but not that complicated. I used a lace and a sponge with blue with the intention to get the pattern of the lace. But it didn’t work as well as I hoped (I think spray paint works better), but anyhow it left some interesting patterns. Then I let it dry a little before I continued with the other colors, doing the same as I did with the letters, blending a little in-between the colors. You can say the sleeves is kind of nebula inspired. After it all dried, I drew on the words BELIEVE and IN, so when you cross your arms you really do BELIEVE IN MAGIC.
- Last step was to fixate the paint and iron down the unicorn patch. The paint had to be ironed in the back for 5 min on the setting cotton. The same with the patch, except it needed ironing on the front as well covered with a moist cloth.
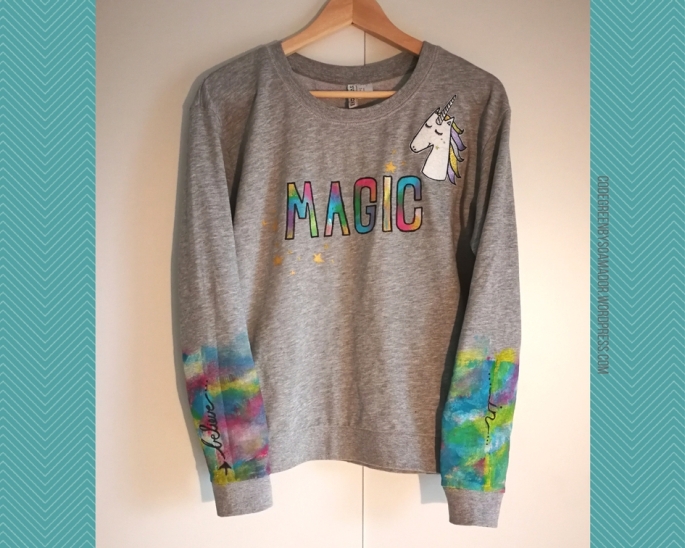
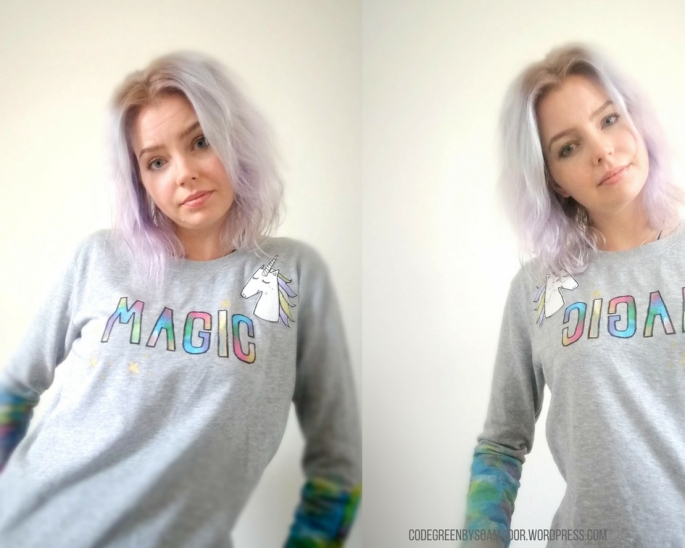
TADAA. The result!! Unique as a unicorn ❤ And magic to last me a lifetime (maybe not that long, but who is counting) Thrifted, one of a kind, stylish, and just a little more sustainable. Every little deed counts for something. I hope you enjoyed this, and maybe you feel inspired to vomit rainbows with me. Please share if you do 😉 ❤