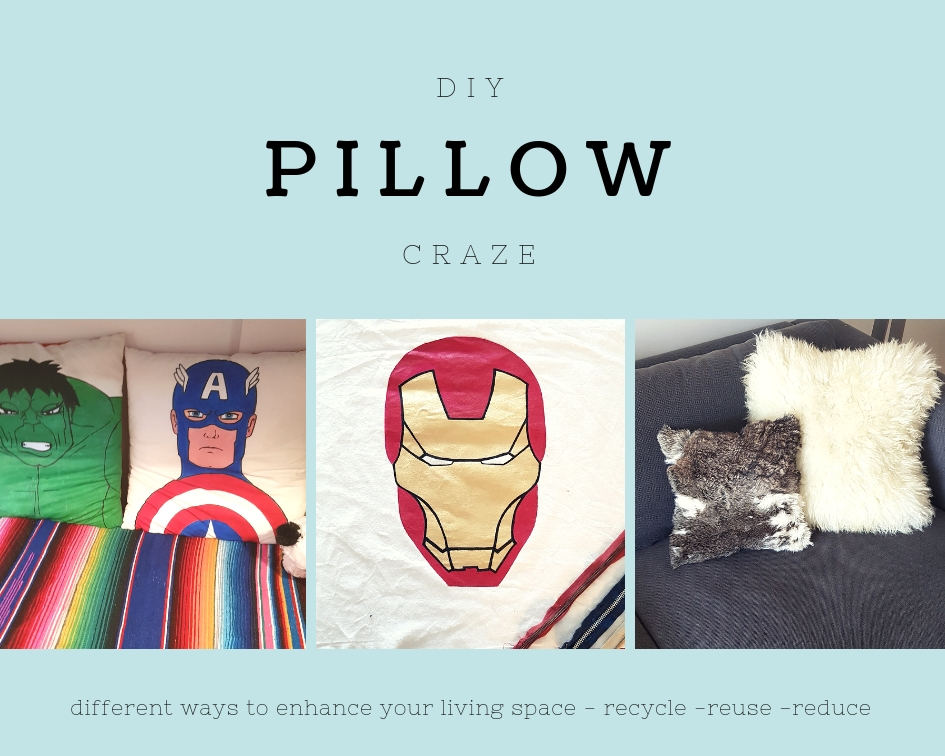
Do you like pillows? I do. Its a easy and fun way to upgrade any living room or bedroom. When you make them yourself its personal. unique and you get exactly what you want and cannot find in the store. I know I haven’t been posting in a long whiiiiiile, but that doesn’t mean I haven’t been busy. 😉
So I want to take you through some techniques you can use to make your own pillows. ❤
I have been having a pillow craze lately, and made pillows out of practically everything. An old cover, old sheep skin and super old rabbit-skin. And that is what the possibilities are also, when it comes to what to making things into pillows. ENDLESS. Beanbag pillow? hello!
Basics;
- Pair of scissors
- Fabric for front and back
- Zipper /Velcro/ buttons
- Measuring tape
- Triangular Ruler
- Chalk
Painted pillows
- Soft pencil
- Fabric for pillow
- Iron
- Zippers
- Black fabric pen
- Fabric paint
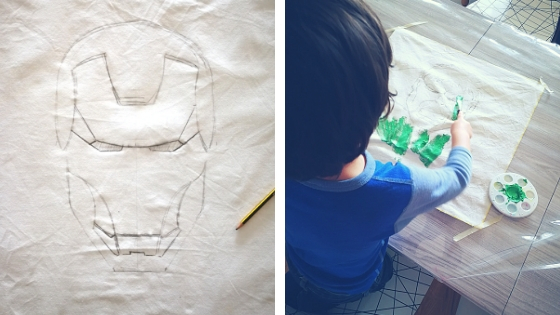
This was on behalf of my son. At the time he was really into superheroes. He has a bunk bed and I thought it could be nice to decorate the bottom bed with some cool pillows, so it could be a nice place to read or play (like he ever sits still and reads). Anyhow worth a try right? The cool thing was that he could be a part of the process of making them.
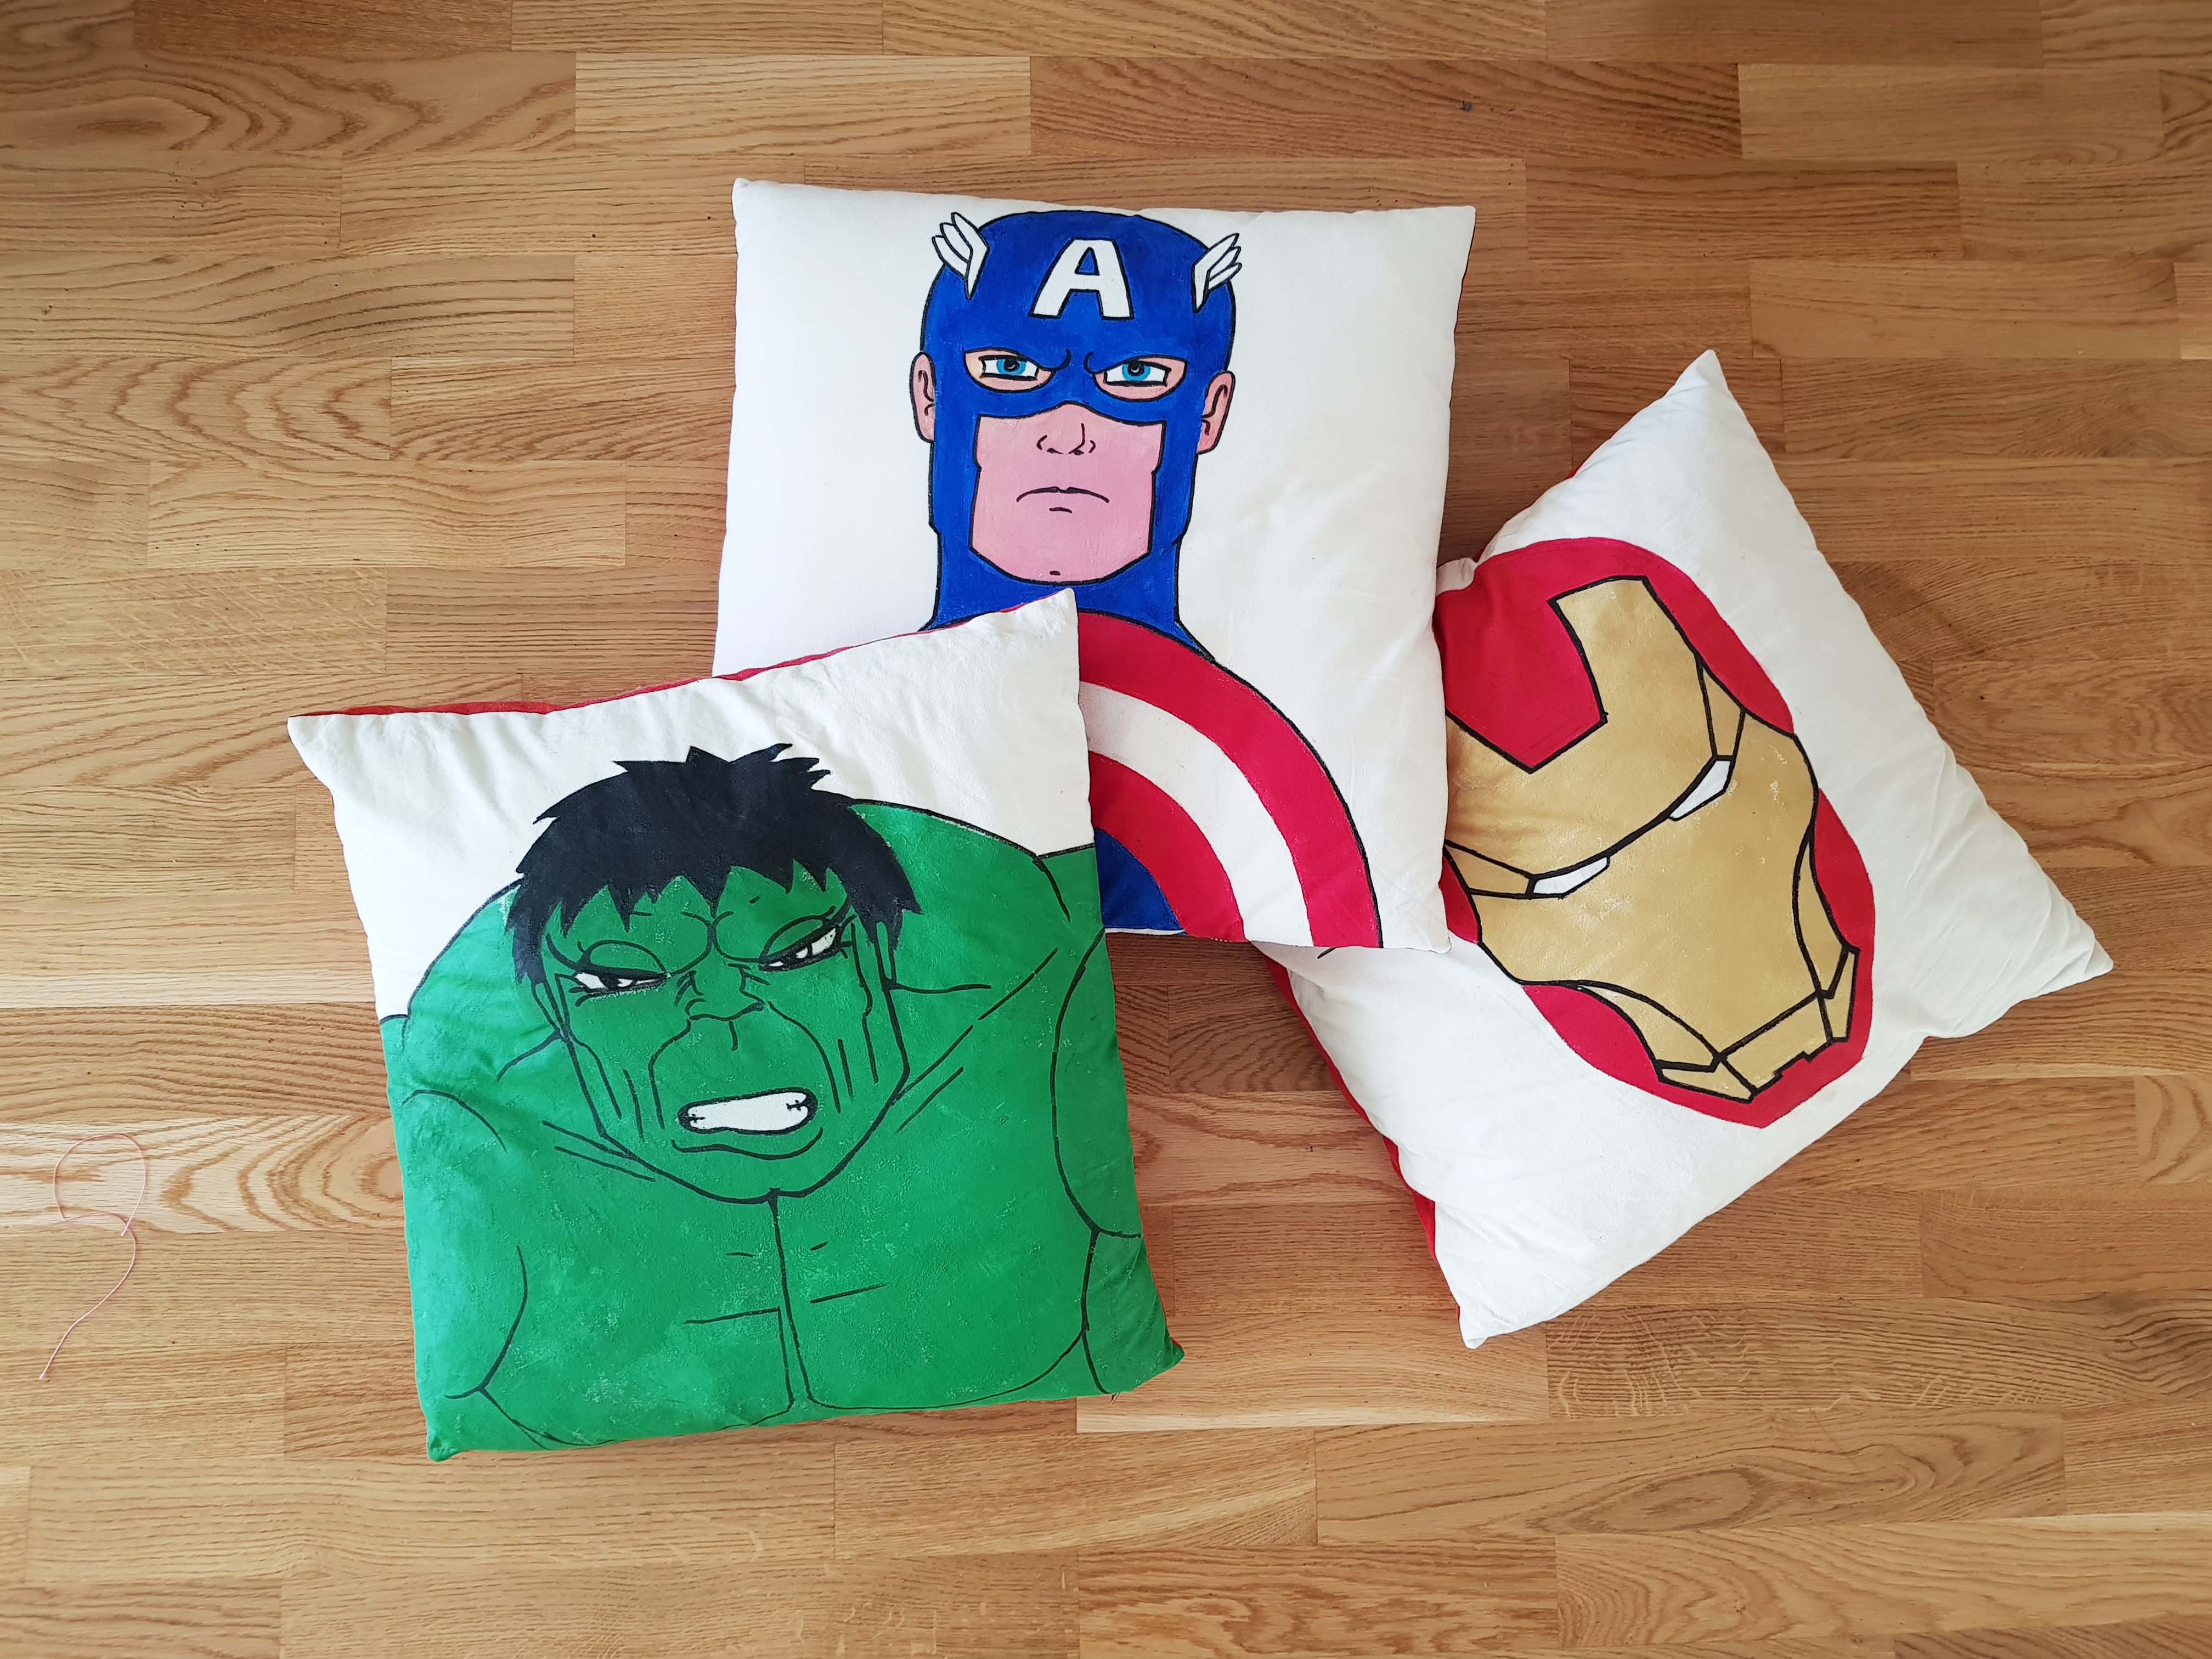
He chose 3 superheroes we would make into pillows. The Hulk, Captain America and Iron man.
For the material I used a old white cover that had gotten a hole in it, but the material was still super soft and durable. Good for reusing. I also had like 7 old couch pillows that I could use a while longer. I measured the size of the pillows and then added 1 cm in seam allowance. Then I ironed the fabric, measured, chalked it up using the triangular ruler to get the square even. Then I cut it out. Easy peasy.
Next step was to google for good motifs that would work for pillows. A picture with black outlines was preferable, so the colors easy can be separated and would stand out. I taped the squares down then drew them on by freehand with a soft pencil. My kid had a lot of fun painting the hulk green ❤ Then I painted the rest. let it dry, then ironed with a piece of fabric on top to fixate the paint.
After this I cut the fabric for the back of the pillow. I used a red cotton fabric I found at my local thrift store. Its nice to match the back with one of the colors in the pictures. Then I zigzagged the end of the fabric to keep it more durable.
My grandmother used to collect a lot of trimmings, buttons and zippers, When she died I got her collection. Respect to all the grandmas who did that. When a garment was old, she removed all the things that could be reused, before disposing or reusing fabric. What if we all could start doing that again? We would create so much less waste<3
I chose 3 of my grandmas old zippers in different colors, sewed them together with the front and back fabric first. After that I sewed front and back together. Turned them around and put the pillow in.
Superhero pillows = happy little boy
Fur Pillows
- Recycled fur material
- Leather sewing needle
- Fabric for the back
- Bobby pins or paperclips
- Zippers
For this pillows I would of course recommend using an old fur you already have laying around. Because the fur business is generally something we should not support. Give them a gentle wash and some love and care with wool conditioner. Dry it completely before you start working with it.’
For the two of the pillows I used some really old rabbit skins that has been dusting down in a basement. Raised on my grandmothers farm long time ago, I felt their remains deserved a little more respect than that.
The issue with rabbit skins is that they are really small, so I had to measure and cut 2 skins and sew them together to make a big enough square. Another thing is that their butts are bigger than the front so even though the seam in the middle front was pretty invisible, the direction of the fur goes two different ways. But as I see it it just makes the pillow gain a more interesting look.
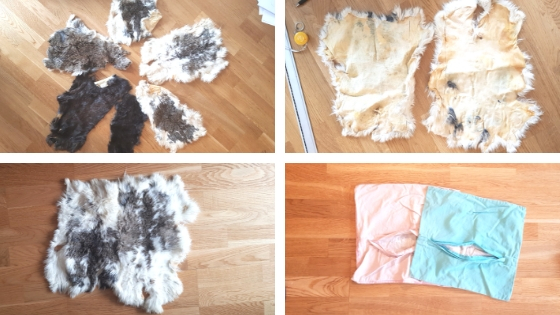
Another thing when working in fur materials, it is really important to remember to cut of the fur within the seam allowance, if not it gets really tricky to sew them together. And DO remember to sew with a needle meant for leather, it makes a huge difference. Also using bobby pins or paperclips to pin together fur or skin is very helpful when normal pins wont do it, or you don’t want to poke a whole in it.
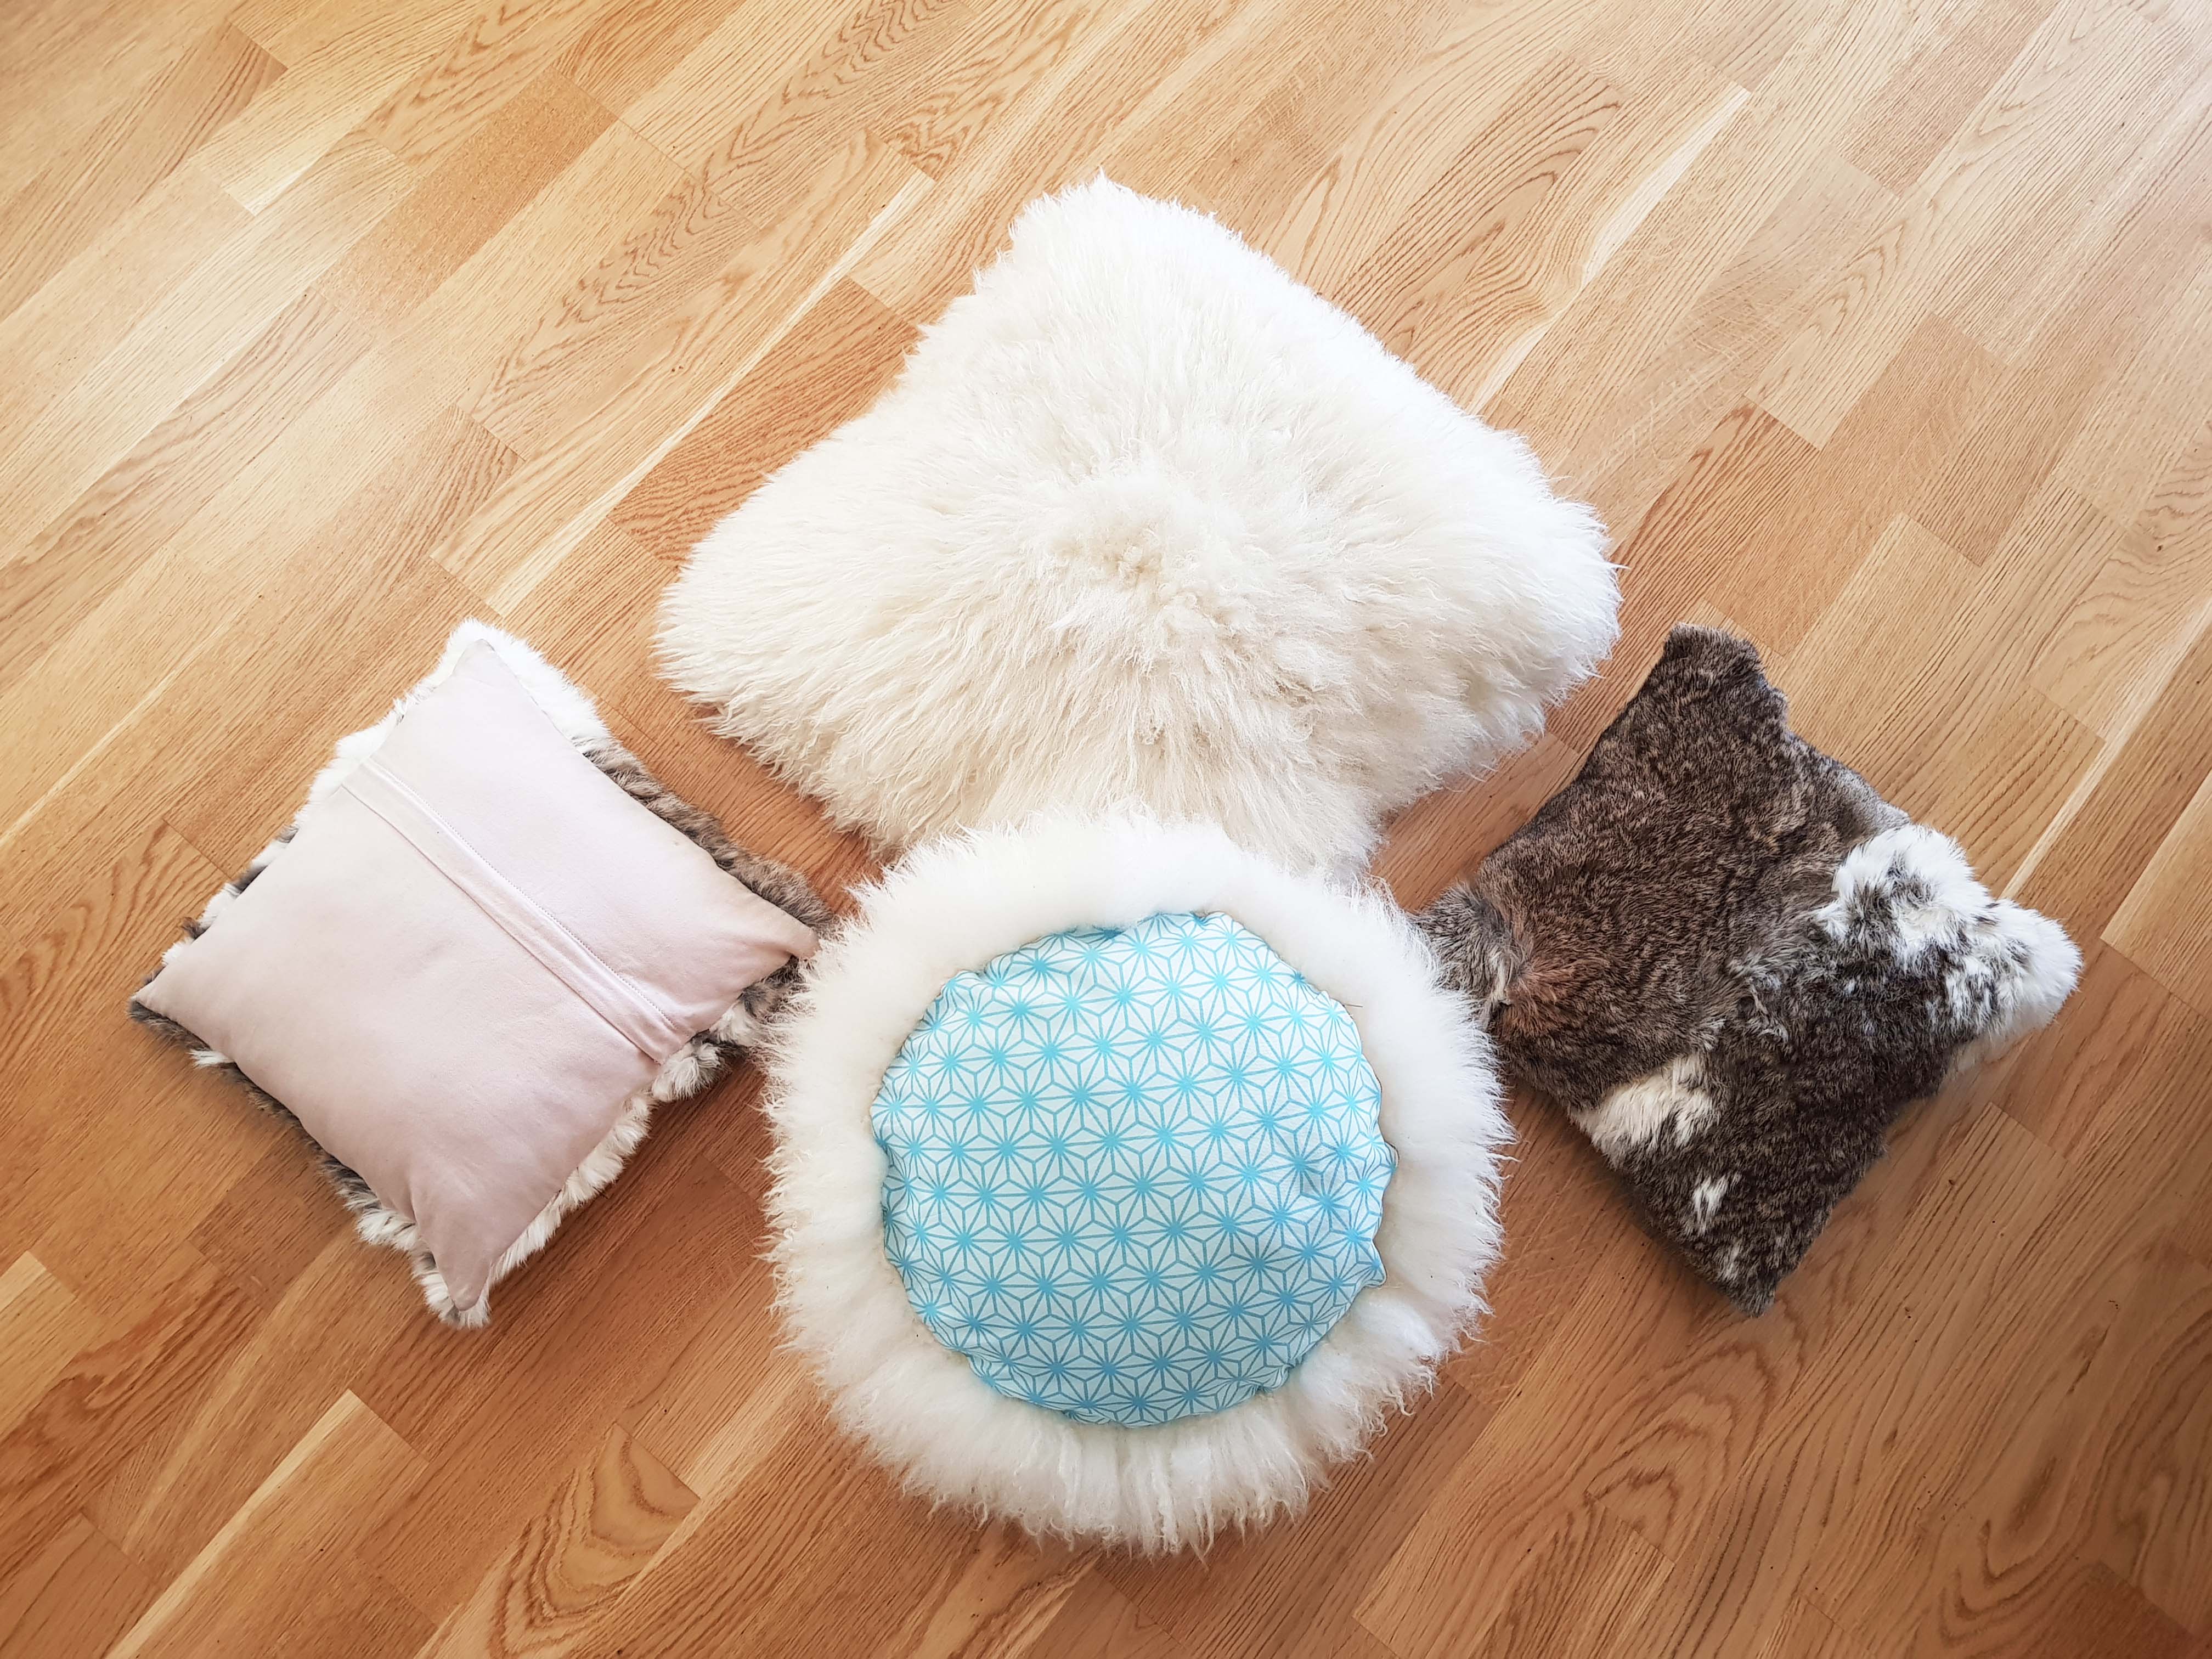
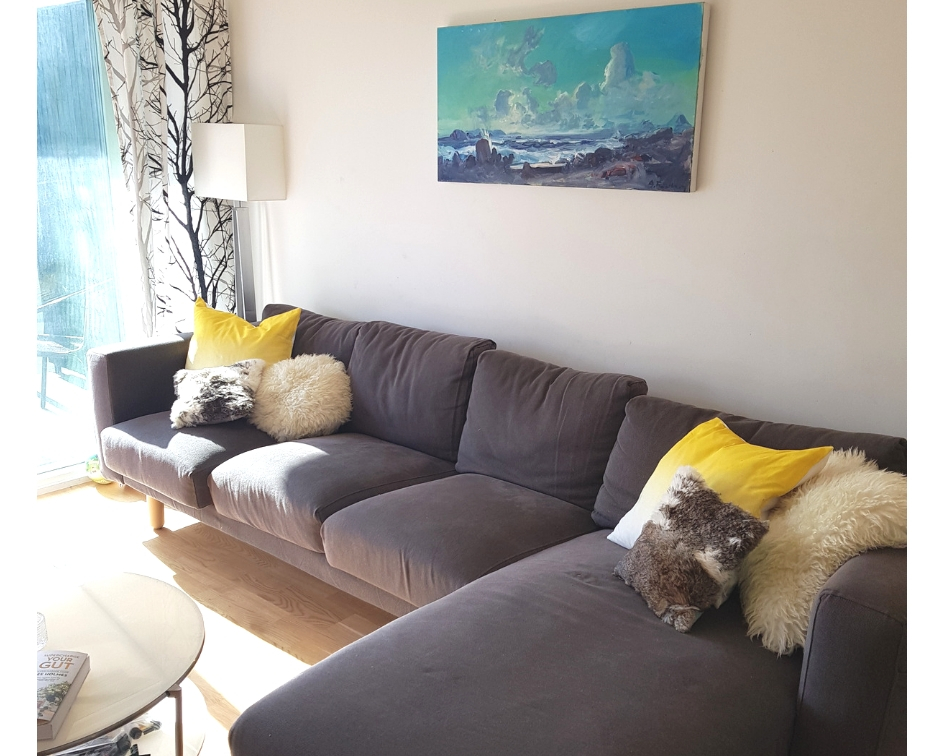
The other fur pillows I made was from an old sheep skin from Ikea called “Ludde”. I’ve had it for years, and started to look a little tired. I thought in my pillow craze that it was time to give it a new look. Since the issue is the same with a small skin as with a big one, the butt is bigger than the front (sounds just like me). I choose to make one square pillow and one round. To make the round shape its nice to have a huge plate to measure by or a compass. In the back of this pillows I used a geometric patterned fabric I found at my local thrift store. The zippers was sewn as visible zippers, I felt that was easier when the skin was so thick. Also I like the look of the pillows be a little rough where you can see the metal zippers. ❤
So I know this post turned out to be a little "furry", but when it comes to what you can make into pillows there are really no limits. Old t-shirts, blankets, jeans. Decorate with lace, tassels, buttons….so…many..possibilities.. I hope I could give you some ideas and inspiration ❤