I haven’t been posting in a while, I think i manage to find every flue and cold that was circulating in 2017. At once……Wishing my self and everyone else a healthy and happy new year ❤ 2018 welcome ❤
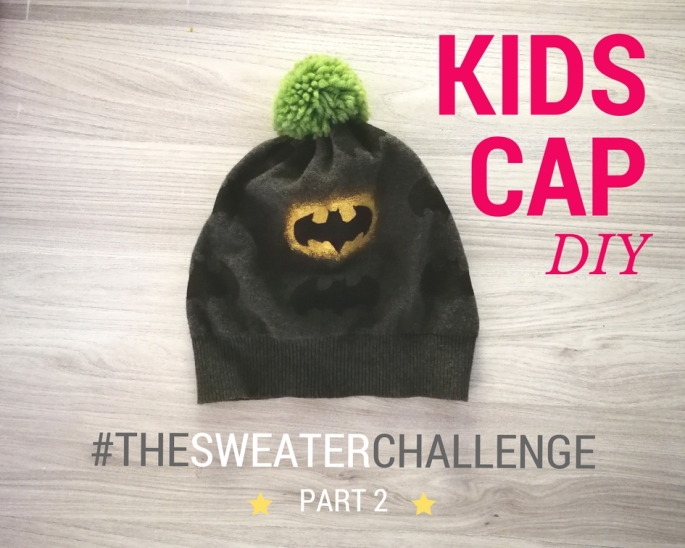
So I wanted to post this before Christmas, but I think the need for caps will stick around still for a couple of months 😉 This is the second post in my redesign challenge, where I redesign a sweater and try to make as many possible items. They have to look nice and be practical. The goal is zero waste and LOTS OF FUN while doing this.
The cool thing is that I will show you how you can do the same. Here is what you need;
- An old sweater
- A pair of scissors
- Measuring tape
- Pins
- Sewing needle
- Thread in matching color
- Chalk
- Cardboard
- Pencil
- Paperknife
- Ruler
- Fabric paint
- Sponge for each color of fabric paint
- Iron
- Ironboard
- Piece of fabric to cover while ironing
Cut and print
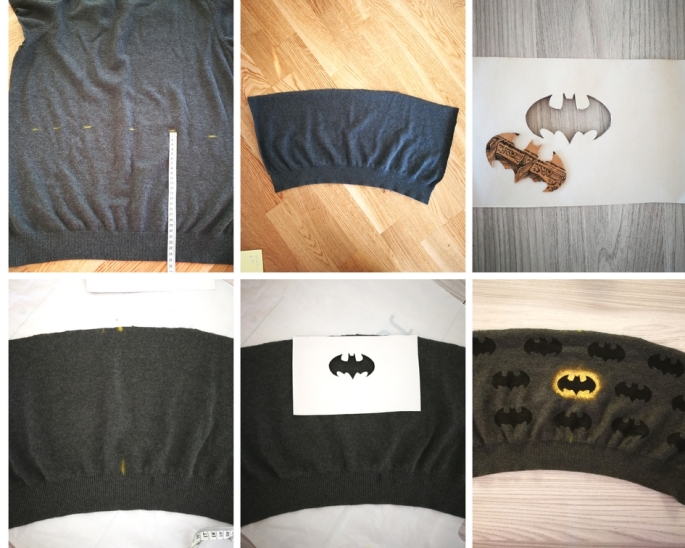
- Measure the height of the cap, use an old cap as a reference. Or you can measure on the head, forehead to backhead (start to end), divide that on two and then add some extra volume depending on if you want a tight cap or a more “beany-look”. I used 27 cm but then I also folded the rib (5 cm). The width would be the circumference of the head (below the widest part of the head) mine was 42 cm + 0,5 cm on each side in seam allowance.
- I wanted to make a print on the cap, so I used some old cardboard laying around. Then drew batman with the help of a pencil and a ruler. Carefully I cut it out using the paper-knife. Great way to reuse some trash right?
- Then I measured my piece of fabric to find “middle front”. Then marked it with chalk. That would be the start of my pattern. A good idea is to figure out the pattern first before painting. Mark the middle of the placement with chalk, then you know where to put your stencil next.
- Then I made the pattern with black fabric paint, let it dry. Then I used the cutout of the stencil to create a gold circle around the batman mark in the front. I worked very gently with the sponge to give it more of a faded look. Then let the paint dry completely.
- Iron the fabric piece to fixate the paint. Cover the print with a piece of cloth, then Iron on the setting “cotton” for 5 min. Repeat on the back side.
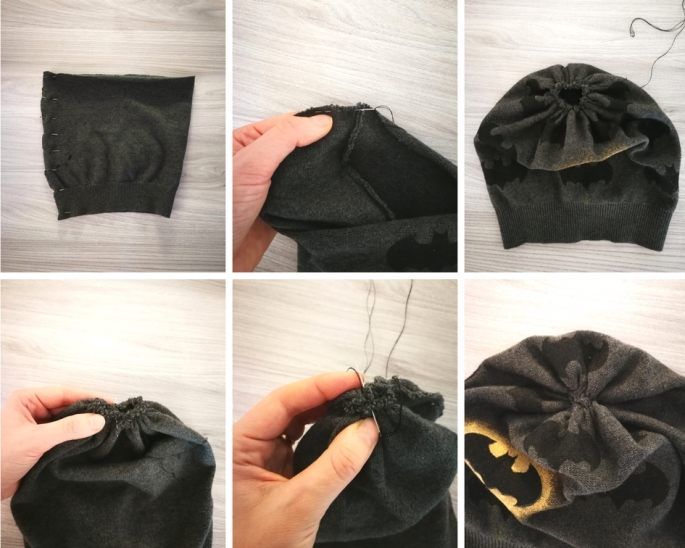
- Time to sew this beauty together. Pin the fabric together. as shown on the picture. I used a black thread and sewed it together by hand. You can also use a sewing machine with a overlock function. This seam will be the middle back of the cap.
- Now we make a seam on the top of the cap. Sew around the top with a little bigger stitches so we in the end can scrunch it together, trying to make the whole as small as possible.
- Time to close the gap, this we do from the inside of the cap. Press the whole together and sew a couple of stitches in the middle. Then fold it the other way, and do a couple of stitches in the middle there as well. Then the whole is closed and it should look something like the last picture.
- I made a pom-pom to put on top. Follow this tutorial to make your own ❤
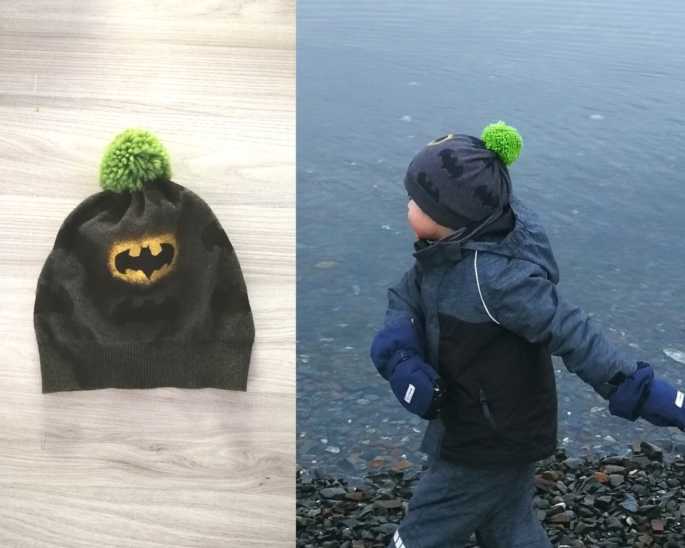
I gave this cap to my 4 year old son, who L.O.V.E.D. it because you know, superheroes are life 😉 This can of course be made for grown up as well. Hello EVERYONE can get a redesigned cap!! ❤ ❤ ❤ Stay tuned for more to come in my #thesweaterchallenge and #zerowateredesign. I am also to find on instagram under "codegreenbysoamador" or my private account "soamador"
Thx for reading, I would love me some feedback if anyone has ❤